
I hope that ‘tutorial’ isn’t too egotistical a word to use here – I tried to document this experiment as much as I could, and I’ll also try to fill in the gaps with clear, simple instructions.
You will need a certain level of familiarity and confidence with piping icing; this is really a tutorial on how to set up your icing, and piping bag – once we get beyond that I’m just going to say ‘pipe swirls as usual’ and hope that you know what that means. It’s also worth noting that this is a time consuming activity, and one that utilises many dishes. However, once I’d finished the project, I could hardly take my eyes off the finished cakes. They are so beautiful!
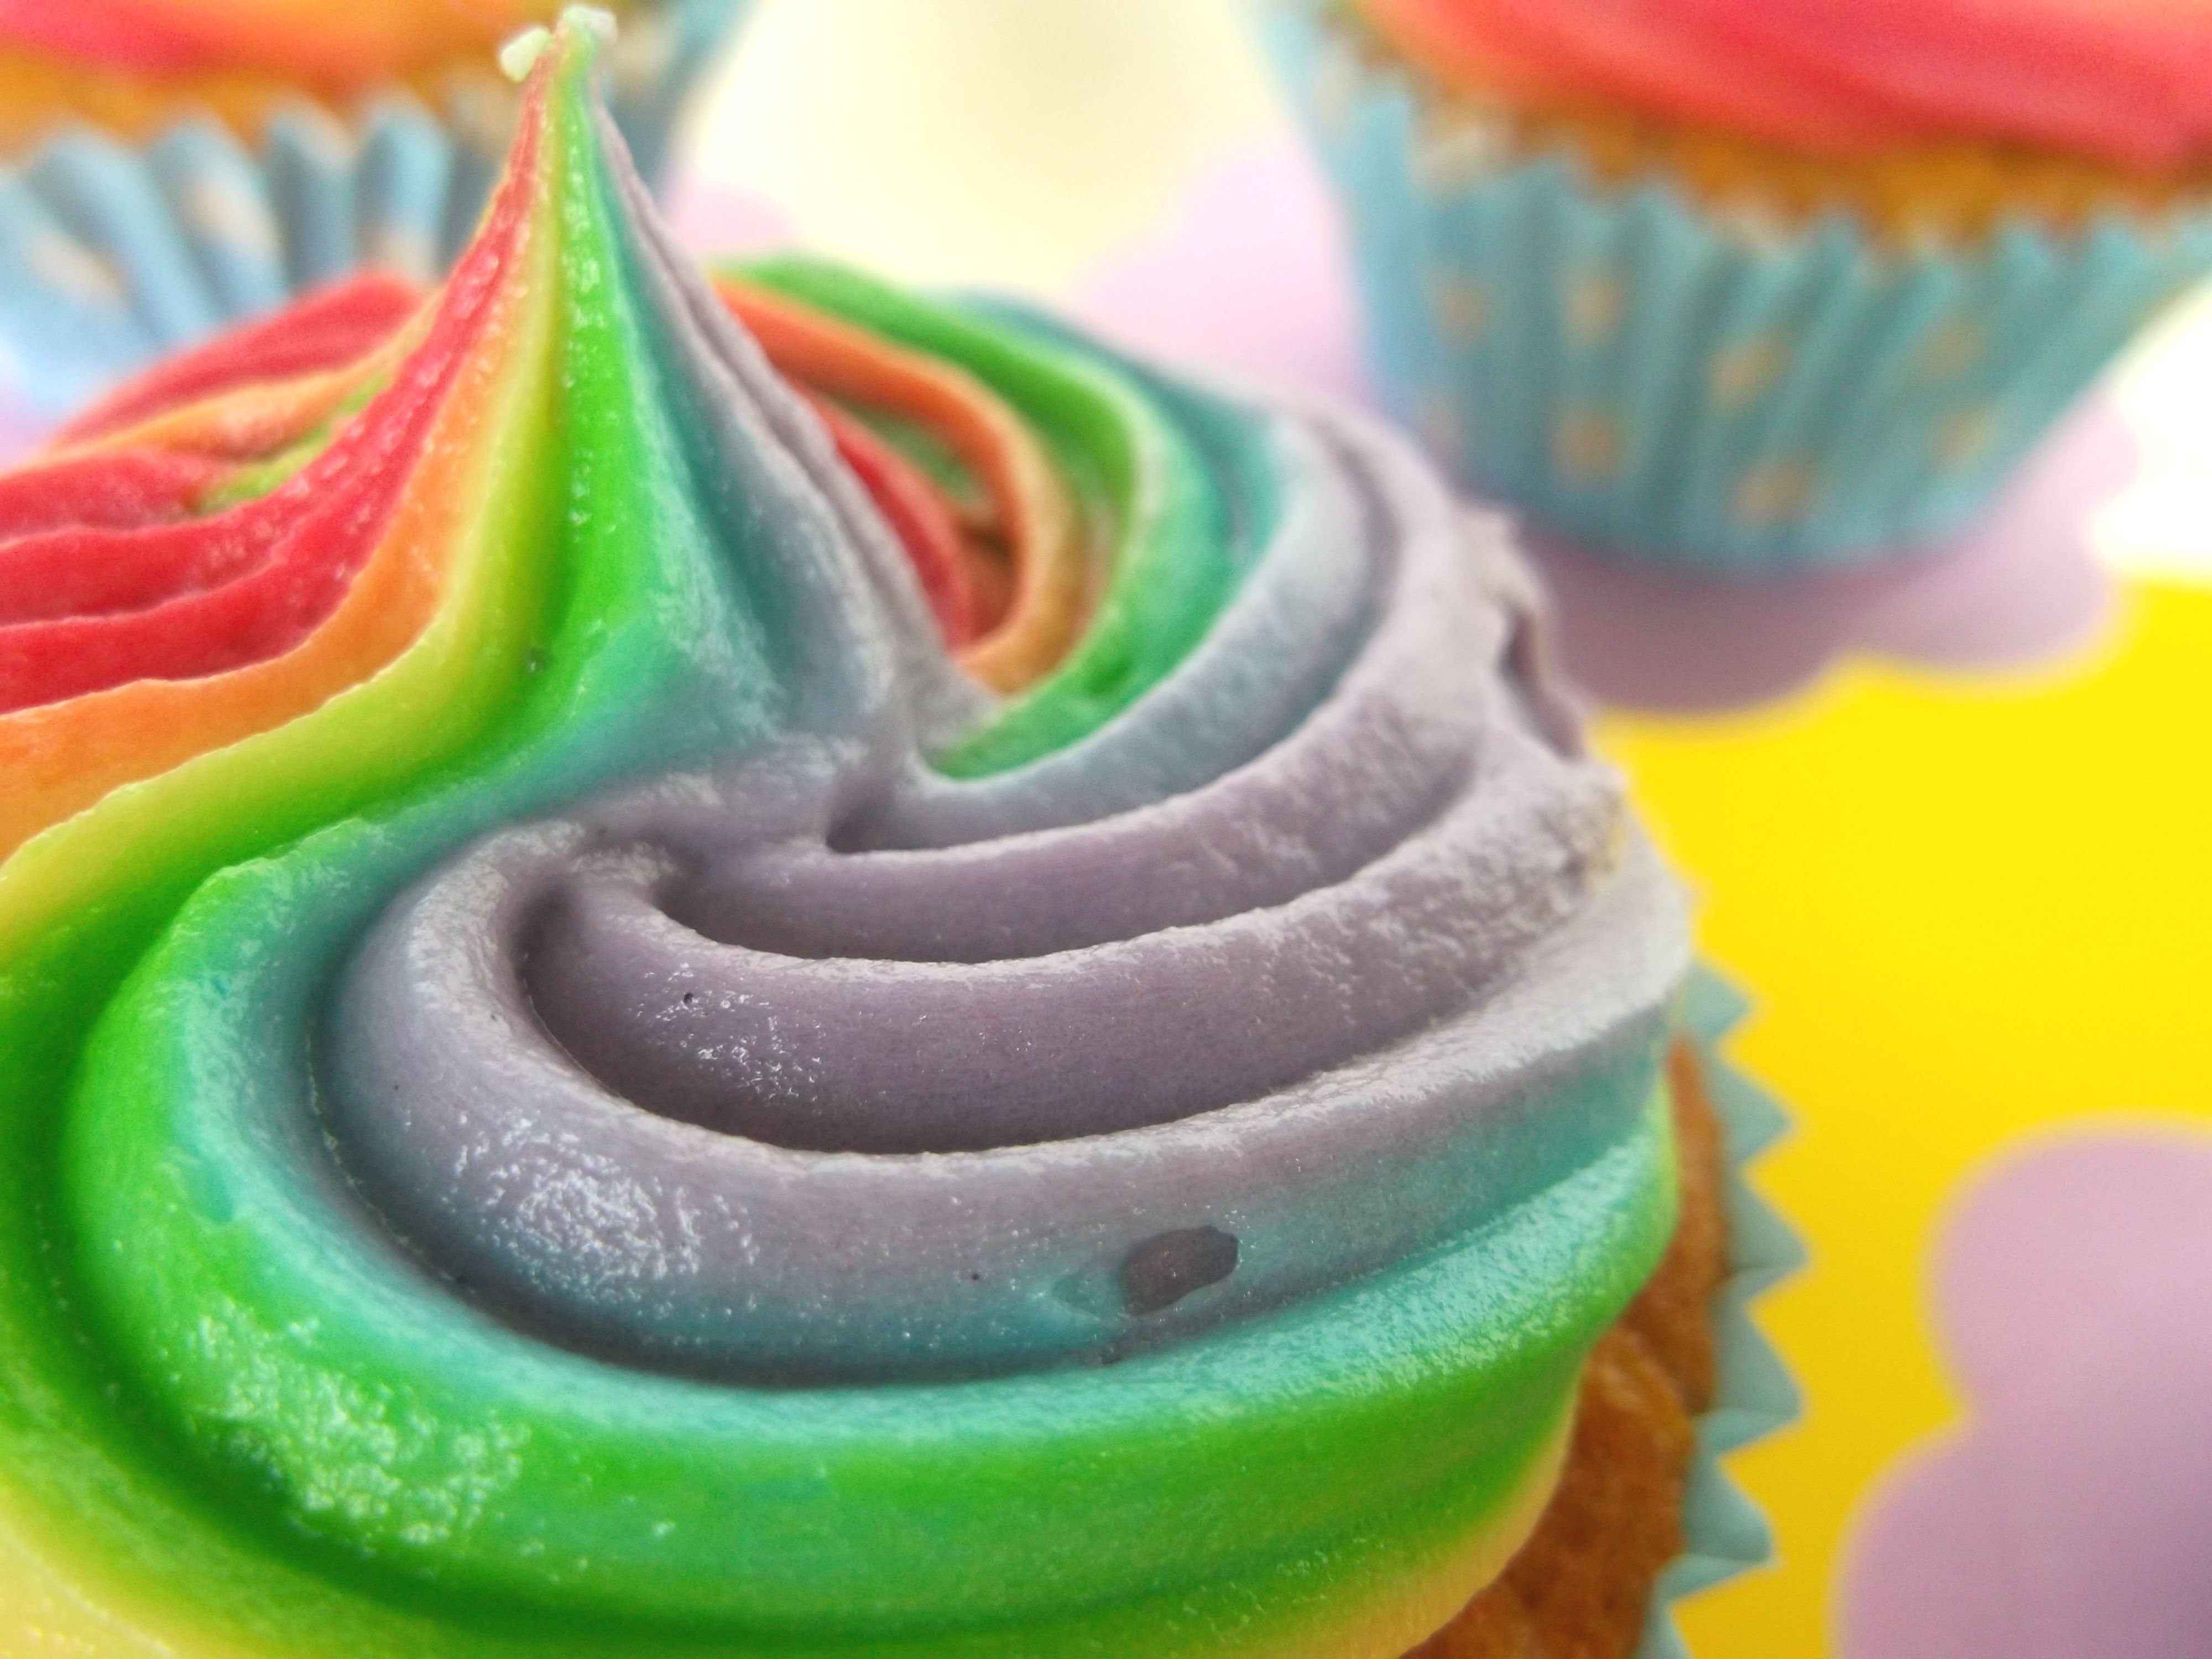
See?
Choose a simple cake recipe that you can put together quickly, unless you have a whole day to spend in the kitchen and don’t mind taking a while over the cakes as well as the icing. I added little rainbow dots to a batch of vanilla cupcake mix not dissimilar to this, using the all in one method to get them in the oven as soon as possible.


While they were baking, I made a batch of buttercream. In case you have forgotten, these are the ingredients (to ice 12 cupcakes with a generous swirl):
- 250g butter, room temperature
- 500g icing sugar
- 2 tsp vanilla essence
- pinch of salt (optional)
Soften the butter up, then gradually add all the icing sugar until you have a thick, creamy icing. If the weather is very warm or humid, you might need to add more sugar – keep the butter as cold as possible without it becoming solid. Add the vanilla right at the end, mix thoroughly, then taste. If it’s too sweet, add a pinch of salt to knock that back a little.
Now, we are ready to rainbow. You will need:
- six bowls and six spoons
- food colouring in at least red, yellow and blue. If you can’t get orange, green or purple you can always mix your own
- two disposable piping bags
- one wide star nozzle and coupler
- icing spreader or dough scraper (optional, but handy)
- sticky tape
I used mostly Dr Oetker liquid gel food colouring, with the exception of green, which was a gel paste. The paste gives a much more intense colour, and you only need a little. I used a great deal of the liquid colours, especially for red, yellow and orange. I added a little black colouring to the red, too, to try and darken it. I would recommend that you invest in some tubs of gel paste – you can get them on eBay if you don’t have a cake supplies shop nearby.
Separate your ready made butter icing into six bowls. Tint each bowl one colour of the rainbow. It takes a lot longer to do that than it does to type it, let me tell you. Make sure the icing is thoroughly mixed once you add the colour, we don’t want any streaks or marbling.


Now comes the hard part.
Take your two icing bags and fit one inside the other. Insert the coupler (the part of the piping bag that you attach the nozzle to) and trim both bags so that it will fit neatly. This particular one is very sturdy and the nozzle clips into it, so you can easily change it if you want to. Sometimes I just fire the nozzle straight into the bag and cut it to the right size to hold it without clicking it into or screwing it onto a coupler. This method won’t work for this experiment.


You can trim away any extra plastic that extends over the coupler, I seem to have been feeling blase about that when I took this photo.
Next, take the outer bag away, and put to one side. You’ll go back to it later. Cut the remaining bag open, up one side and across the base of the coupler.


You are now ready to fill the bag up. The idea is that you create six rows of coloured icing, not overlapping each other, the same width and depth, and all ending in a neat row at the same distance from the coupler. You want the icing to be as near the tip of the bag as you can manage.
Use a spoon to drop a row of icing blobs along the length of the bag, then smooth into a uniform row which is narrower at the tip and wider at the bottom, basically following the shape of the bag. Remember that you have six colours to fit in, so judge accordingly. Use a icing smoother or dough scraper to neaten up the edges, so that one colour doesn’t bleed into the next. The scraper can also be used to push the lines of colour together tightly – just apply reasonable pressure as you’re straightening each line, wedging the edges of each strip together. Make sure to smooth the icing down firmly; if there is air trapped in the icing you’ll get little bubbles or gaps in the finished icing. Not the end of the world, by any means, but it’s good if you can avoid them.
Repeat these steps with the other five colours. Here are some pictures.


Again, this is much quicker to show than to do; relax into it. It’s fun, in a detail-oriented, I’m-covered-in-icing kind of way.
Once your bag is full, fold the icing bag back into its original shape. I taped it up, just loosely, so that the icing would be less inclined to come out the gaps than out the nozzle. However, this is really where the second icing bag comes in; slide the full bag inside the other one you prepared earlier. This is why you trim them at the same time, one inside the other. It’s so that they are a snug fit, and the icing doesn’t smoosh out everywhere.


Click or screw the nozzle onto the coupler. I used a star nozzle with lots of points, close together. Here is a photo of it after use – you can see how all the icing squeezes out in equal amounts and creates the rainbow.

I was afraid of the icing bag once it was full. It was that precipice moment: I’ve put so much work into this already, what if it doesn’t come out right? What if I ruin it at the last moment, by dropping it or squeezing the colours together and turning it all brown? What if it DOESN’T WORK?
Well, folks, that’s life for you in a nutshell. You won’t know if it works or not until you just go ahead and do it.
I lifted the bag so that the nozzle was pointing downwards, then squeezed the sides in confidently (HA! OK, firmly), and began to push the icing downwards, making sure to apply even pressure across the whole bag. Don’t rush it, but you do have to apply a certain amount of pressure to get it to work its way down the bag. The most important thing is that each row of colour is pushed downwards at about the same rate. If you’ve filled the bag evenly you shouldn’t have a problem. Soon you will see, when you peek in, that the icing is almost at the tip of the nozzle.
Now, the eternal words: pipe swirls onto your cupcakes as normal.
I’m not the greatest at icing but I do think I have the knack of it. My downfall is that the spirals tend to be more oval than perfectly round. It’s a first world problem.
You will want to take eight hundred photos of the resulting cakes, because they are just stunning, really. I know I made these ones, and it’s very immodest to say so, but come on. Look at them!


Putting the sprinkles inside the cakes meant that they ended up with little rainbow dots of colour through them. They melted in the oven, so there is no crunch, they are purely decorative. I loved this too, they aren’t totally in your face rainbow but they do tie in with the icing. It’s all in the details, friends.


Thus endeth the lesson.
As it happens, Pride is in Glasgow this weekend. Celebrating? Partying? Want a way to express yourself through the medium of baking? Make some fabulous rainbow cakes. It’s the best way.
 Warning: sometimes people have this reaction to them:
 The attack never comes from the front, with Miss R, always from the side.
Clever girl.


August 7th, 2013 at 2:10 PM
BEHOLD THE AWESOME!!!
August 15th, 2013 at 10:30 PM
\o/
/ \
That is a stick person beholding them.
August 7th, 2013 at 5:50 PM
This is NEXT LEVEL awesome. To the power of 10.
August 15th, 2013 at 10:32 PM
D’awwww thanks Movita! I do love them, ever so much. I made them! That’s what I keep thinking. Such a nice feeling.
August 7th, 2013 at 6:10 PM
They are so beautiful they look like they came straight off Pinterest!!!
August 15th, 2013 at 10:33 PM
Oh thank you so much Susie! That is such a nice thing to say. I did put them on there, and for once I didn’t think they looked shabby compared to all the other beauty there is on Pinterest.
August 7th, 2013 at 9:32 PM
This is fantastic! Can’t wait to try it out.
August 15th, 2013 at 10:33 PM
Thanks Dannii! I would loooooove to see pics if you give it a go, and get your thoughts on it.
August 12th, 2013 at 4:31 PM
A-freaking-dorable.
August 15th, 2013 at 10:23 PM
Meep thank you!
August 27th, 2013 at 7:21 PM
professional-messional photos there too! Beautiful 🙂 (and a nice JP reference thrown in!)
August 27th, 2013 at 8:28 PM
It’s not everyone who could link these cakes and dinosaurs… Nor everyone who would notice 😉
September 20th, 2013 at 9:56 AM
[…] lovely Glaswegian Rock Salt puts a bit of colour into the kitchen with her rainbow icing tutorial. Bright colours always remind me of sunshine and with her helps, your cakes certainly won’t […]